Sourdough Starter
“There is nothing, absolutely nothing, half so much worth doing as simply messing about in boats.”
Kenneth Grahame, The Wind in the Willows (1908)
*Returning to this post to share that I have been humbled by sourdough. Since this original note, I have had the occasional success, but I have also baked flat breads, frisbees, and dense boules. Sometimes they rise and surprise me. I am genuinely unsure how to recreate the success. Jared says I am an artist more than a scientist, and that feels right here. I cannot seem to follow the exact same process each time. I try, but it taxes me. Still, as of March 18th, I have another loaf fermenting and will bake tonight. Our family of six seems to go through six loaves a week, which is far more than a simple Sunday bake. So, enjoy my blissfully naive notes below on a starter.
I am always diving into something, and right now it’s still bread. I don’t have an easy recipe to share. I can’t seem to find one either- bread is complicated and deeply rewarding.
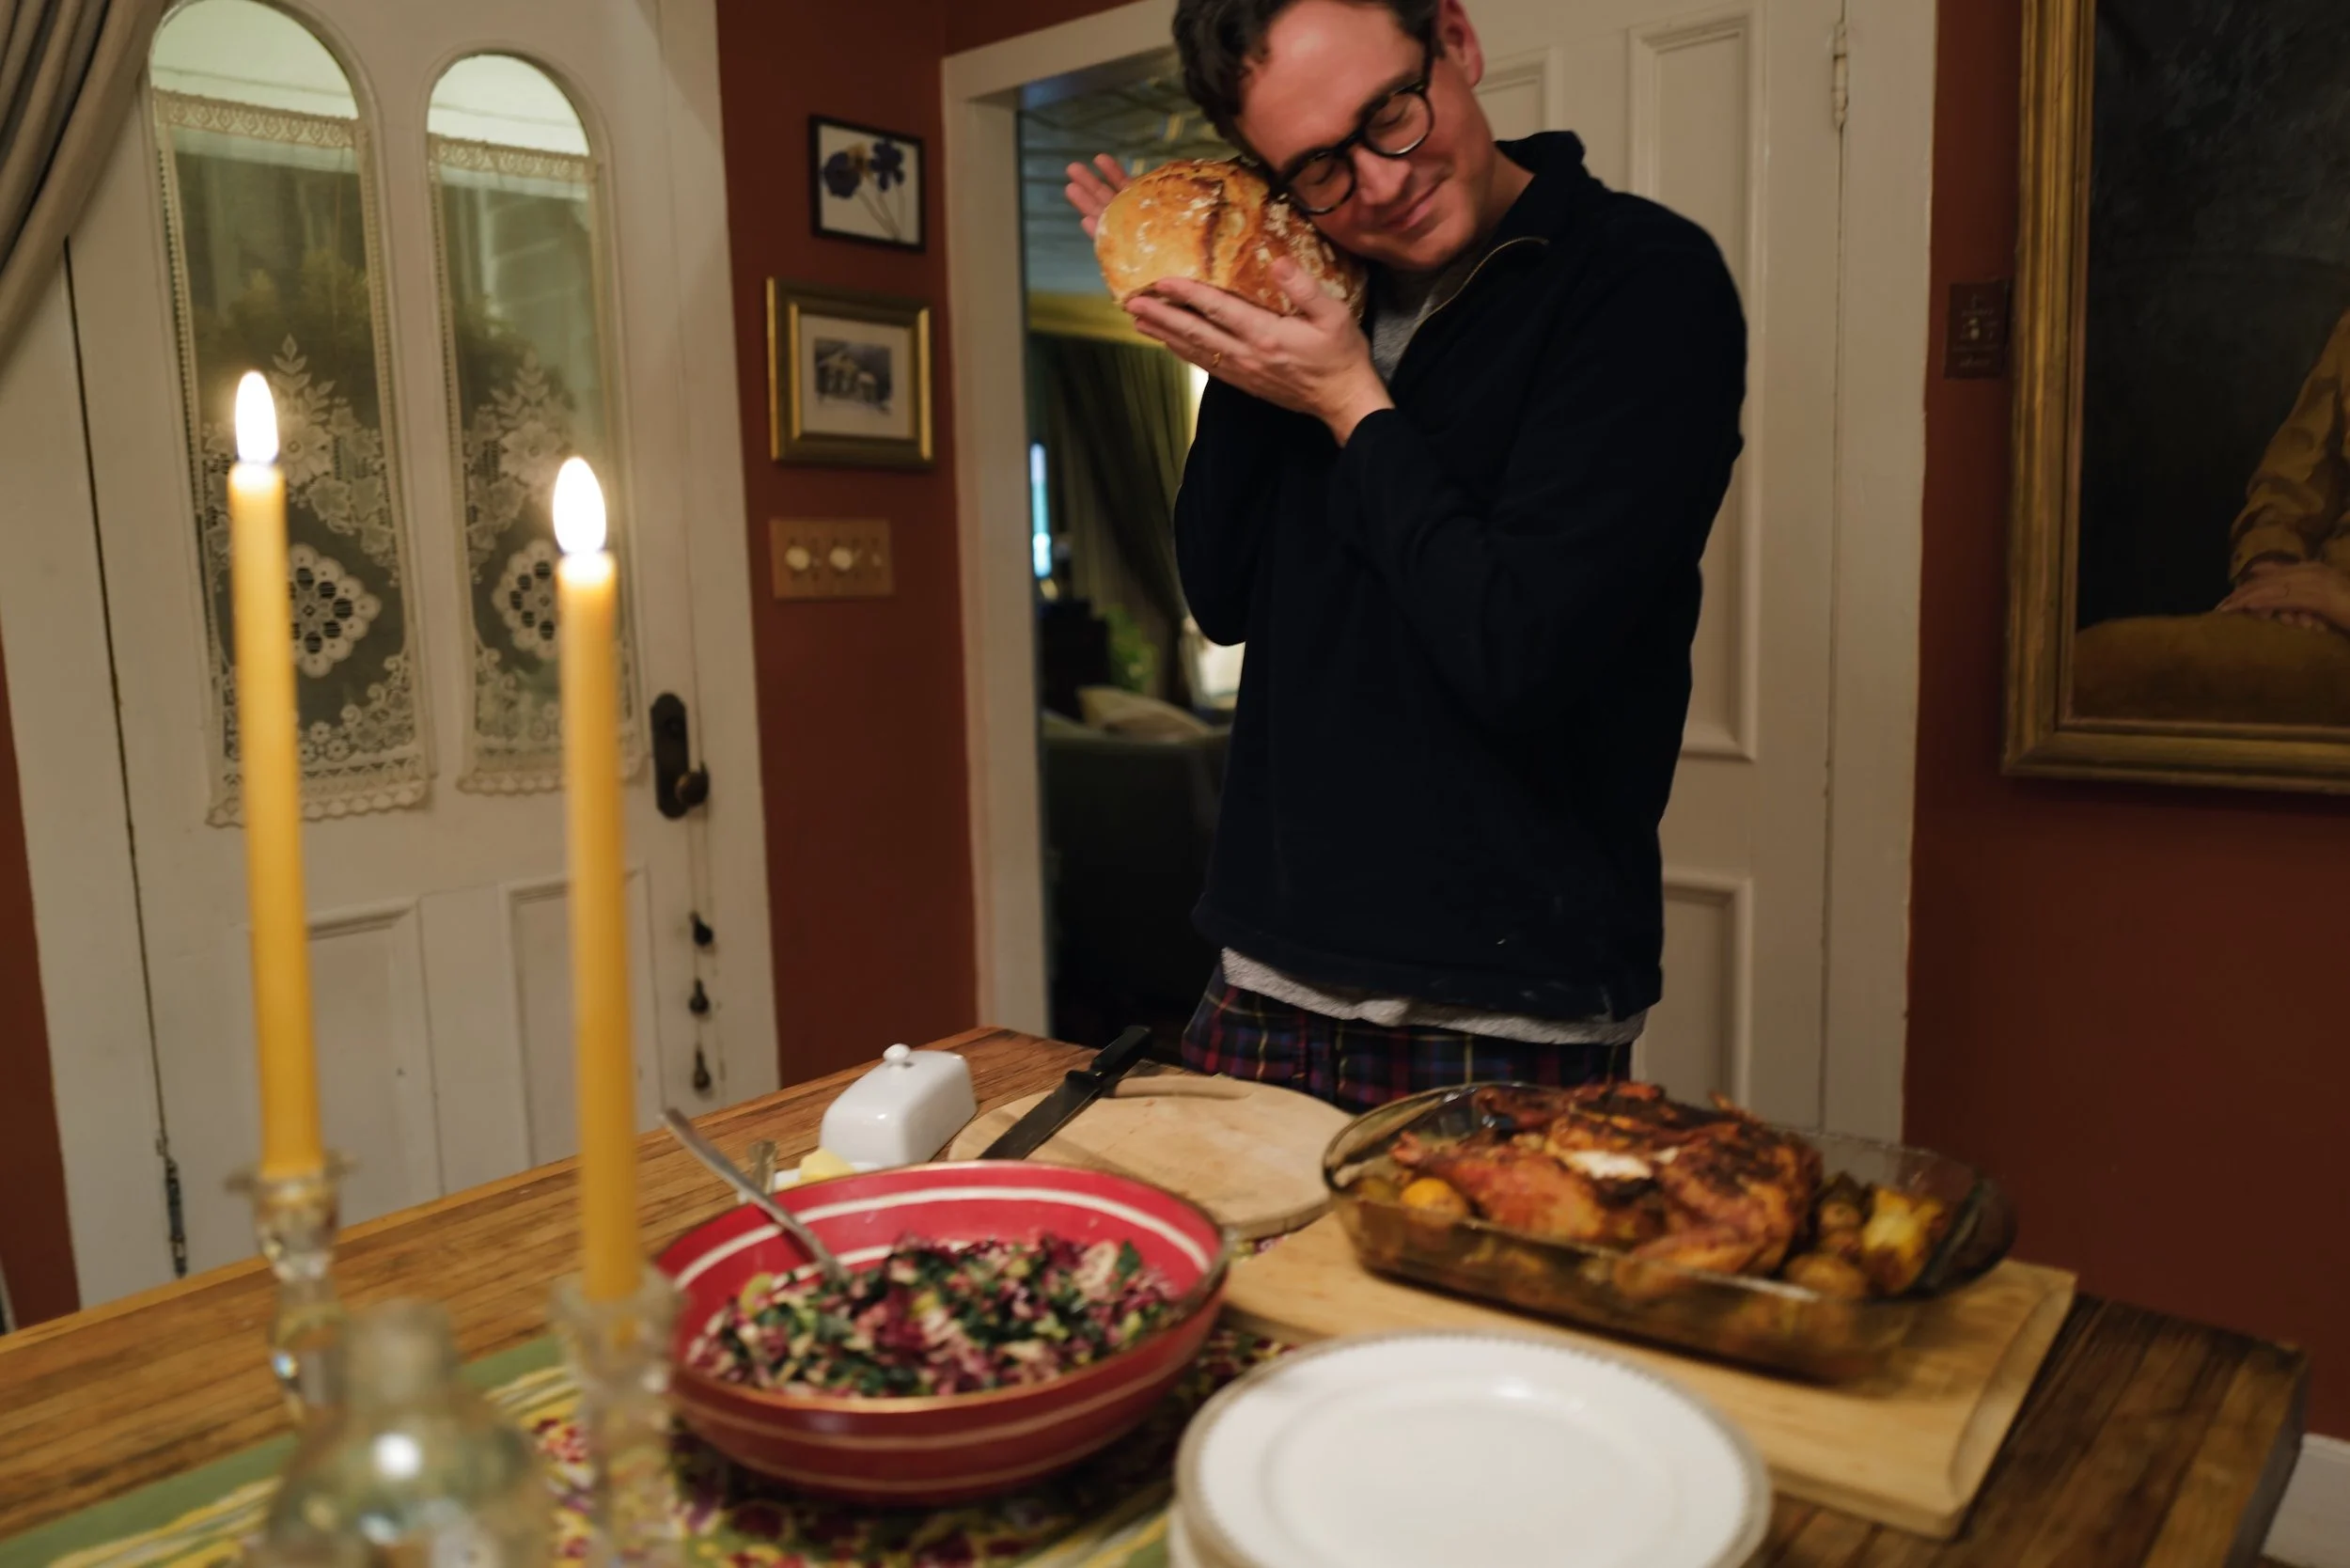
Jared, above, is hugging a warm loaf I made on a snowy Sunday night. I felt proud.
The good news: I’ve learned how to keep a starter alive, and I should probably write that down. I’ve now shared mine with three new caretakers turned bread makers. Thank you, Chapin, for sharing yours and making this all possible.
Starter Notes
You will need:
• Two jars 28oz
• A sourdough starter
• Bread flour
• Water
On the starter
How did I get a healthy one? A bread friend. I encourage you to find one. Every attempt I made on my own failed for months. The shared strong starter is what finally worked.
On flour
I buy bread flour from the bulk section, fresh as possible. Soon I will rave about a nearby mill. But it is February, I have a baby, and I have no business driving around in search of freshly milled flour, except that it is exactly what I want to do.
How I Feed My Starter
I follow a 1:1:1 ratio. Equal parts starter, flour, and water.
Here is an example that gives me enough for two loaves once the starter rises, plus some leftover to keep alive.
Start with
100 grams active starter
Add
½ cup bread flour (white or rye. I like to alternate. Rye ferments more energetically and seems to wake everything up.)
½ cup waterStir and let it rise.
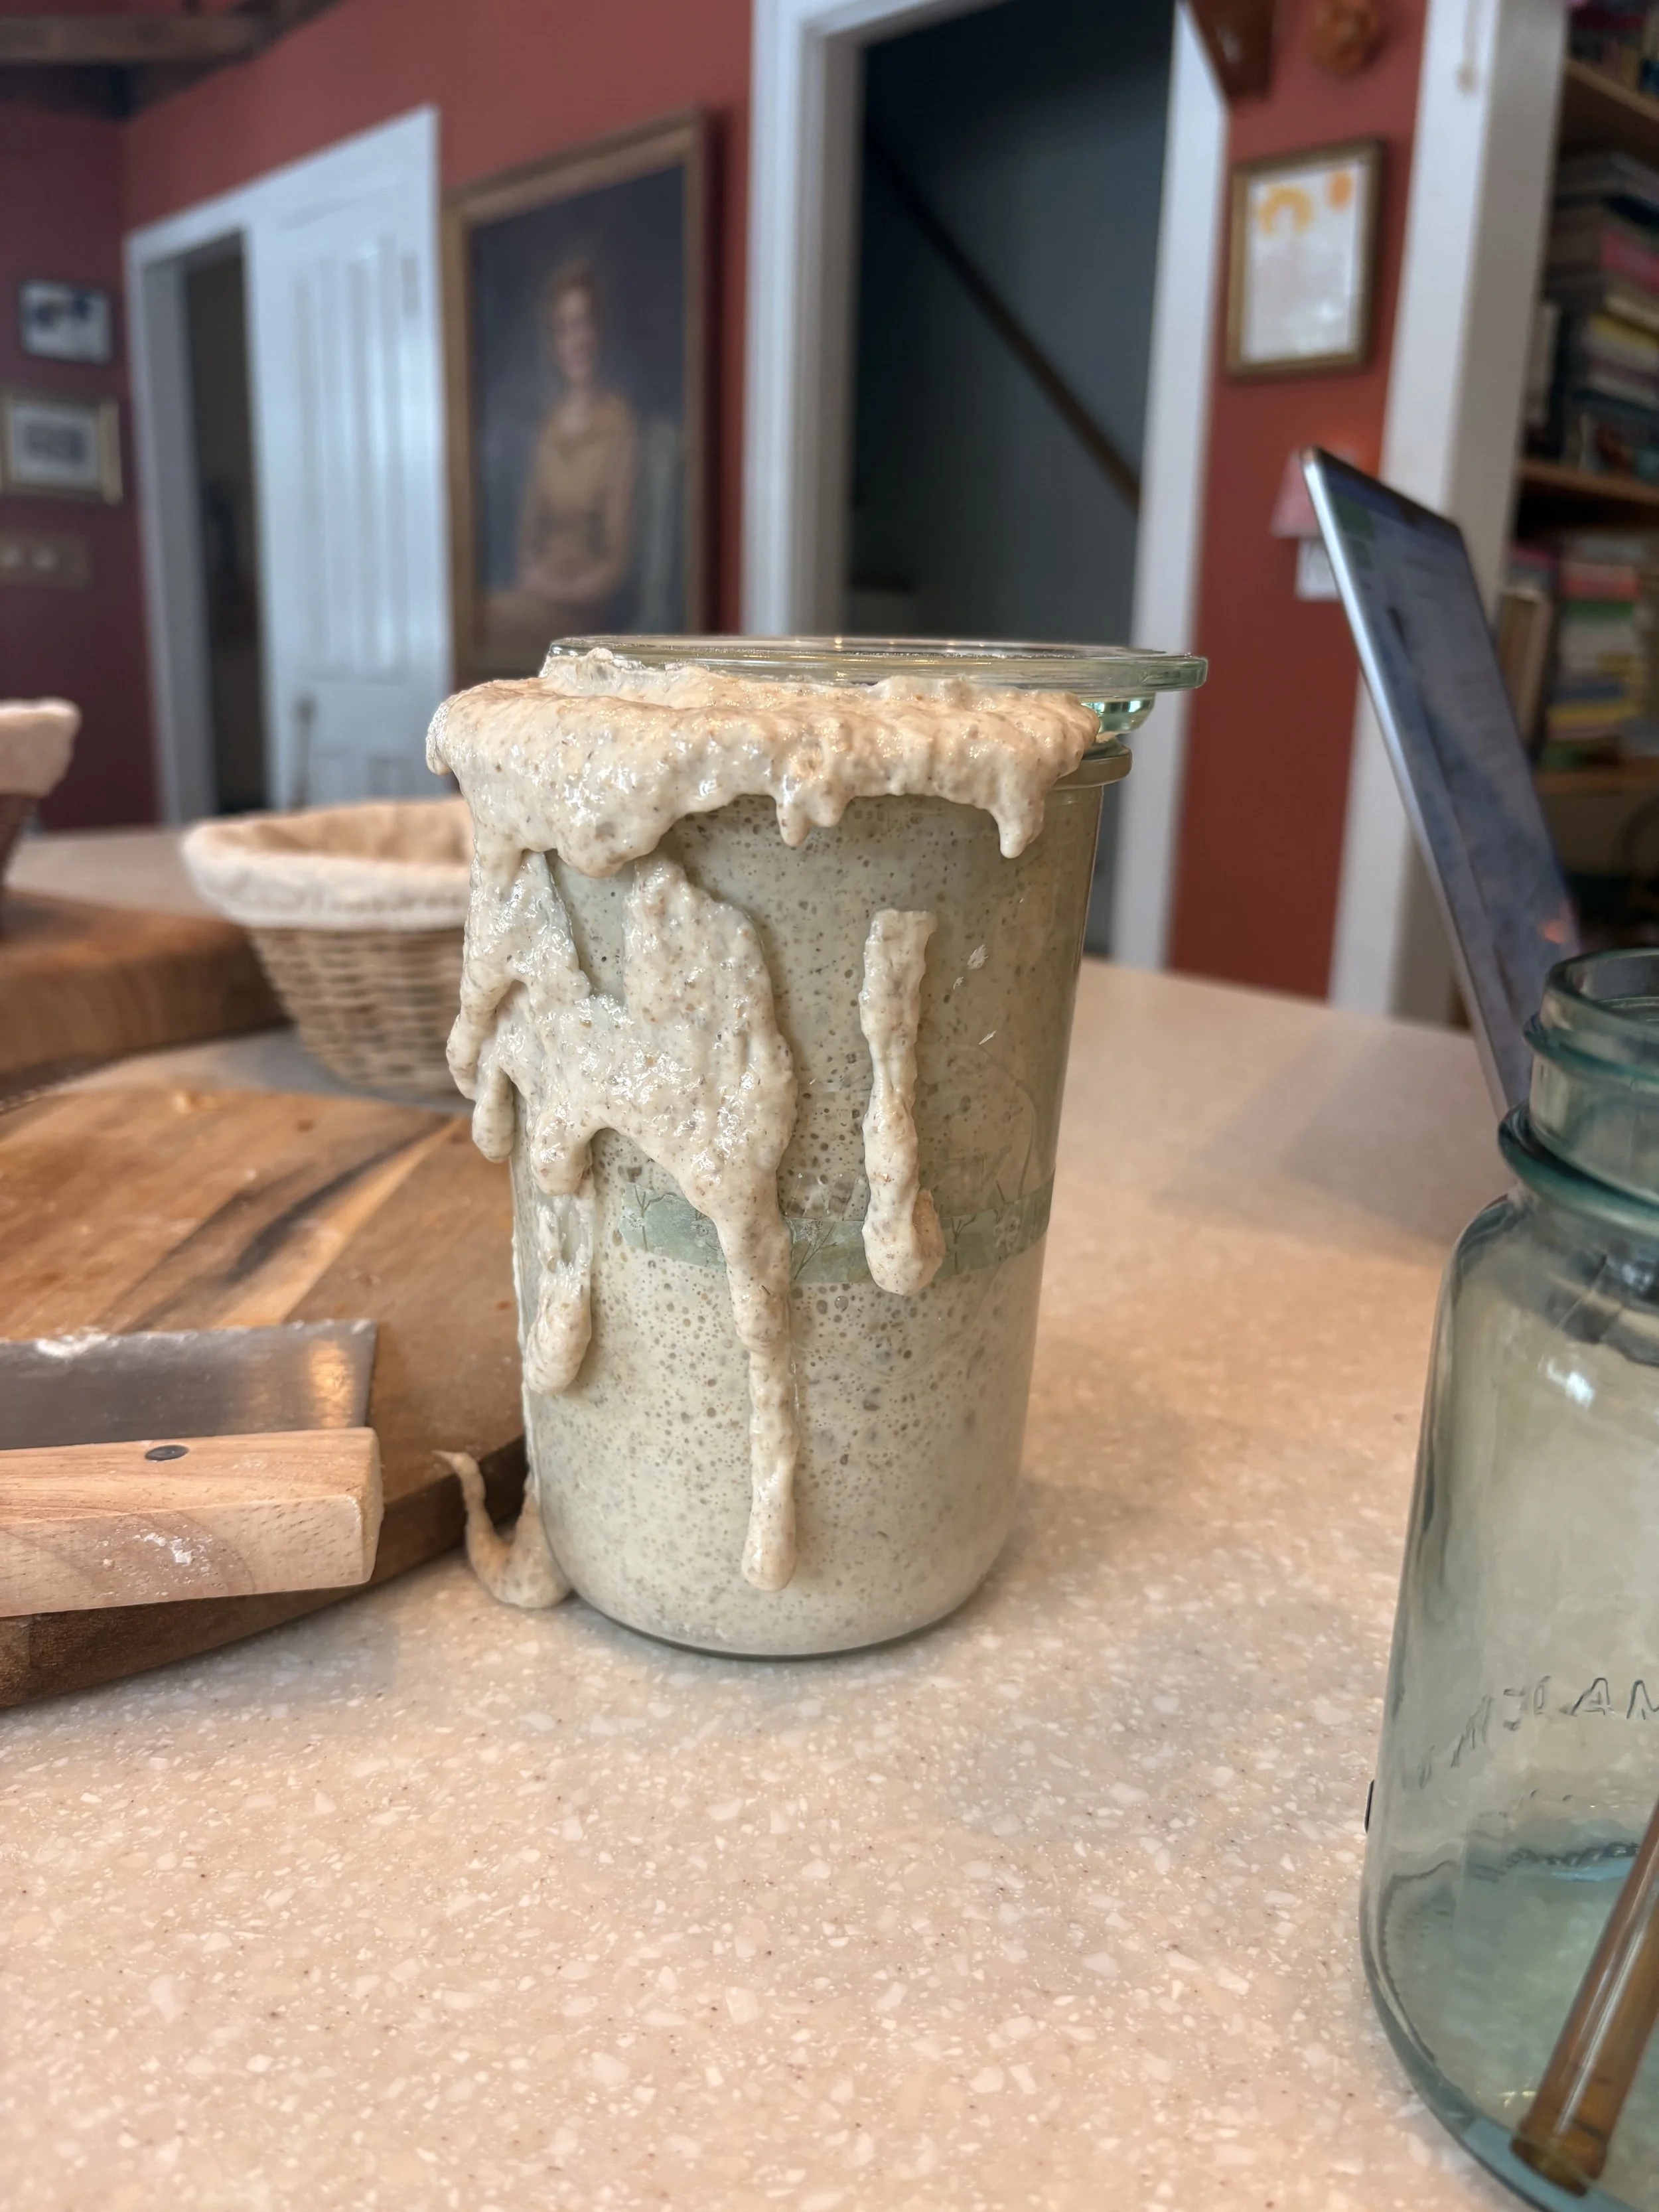
Six to ten hours later, when it has grown and formed those slightly scary monster-mouth bubbles, it is ready to bake with.
After you use it, feed it again with the same ratio.
If you bake regularly, keep your starter on the counter. You will need to discard and feed it daily.
Discard is the part that quietly confuses people. It simply means removing a portion before feeding so the starter does not grow endlessly and take over. Keeping a smaller amount actually makes it stronger and easier to manage.
You can bake with the discard. It works beautifully in muffins, pancakes, and banana bread. I have seen others fry it like a savory pancake with herbs and seasoning for a snack.
When I add discard to a recipe, I sometimes add a touch more sugar to balance the tang. Nothing dramatic.
I change the jar every few days.
PSA: do not let sourdough go down your sink. Flour is the ruin of septic systems. Wipe bowls and hands with paper towels first before washing.
There are many, many bread recipes. I feel overwhelmed sometimes too. As a beginner still, I have liked Ballerina Farm’s method. I will eventually graduate but this got me started. I would like to try a cheesy loaf or an olive one… maybe cinnamon raisen too. There are more bread photos in my future.
Happy fermenting friends!